
Start with identification and permission
Press only plants you can identify and are allowed to collect. Use absorbent paper and a clean weight, and check that collection is permitted before bringing home a wild plant.
Decide whether you are making a record of a plant or decorating with dry material. A home herbarium page needs a reliable identity; a craft project can use ready-dried material when documenting a local plant is not the goal.
If the plant's identity or your permission to collect it is uncertain, leave it where it is. You can press a suitable cultivated plant or choose material sold for crafts instead.
What should you check before collecting a plant?
Before collecting outdoors, use a field guide or another qualified source to identify the plant. Do not rely on a quick resemblance or an uncertain guess. If you cannot make a clear identification, skip collecting and keep your notes separate from any pressed specimen.
Check the rules for the place where the plant is growing. Do not collect protected plants or wild-harvest where collection is prohibited. If the rules are unclear, do not take a specimen; supplies cannot answer a permission question.
A known cultivated plant may not need a field guide for this project. For a wildflower, Newcomb's Wildflower Guide is one option to consult. If it does not resolve your question, check another qualified source before collecting or writing a name on the label.
Press with absorbent paper and a clean weight
Gather the absorbent paper and weight before arranging the plant. Work on a clean, flat surface and handle one specimen at a time so it stays with its identity note. A clean, flat book or another suitable weight can serve; a purpose-built press is not required for this basic approach.
Place the plant between sheets of absorbent paper. Arrange the leaves and flowers so they lie flat rather than folding under one another. If a part slips or overlaps, reposition it while the specimen is still easy to handle. Put the clean weight on top of the paper stack.
Check the paper as the specimen dries. When it feels damp, replace it with dry absorbent paper and put the weight back in place. Keep the name note with the stack as you work; several loose specimens are easy to mix up once they are separated from their labels.
Let the specimen dry without rushing it
There is no fixed drying time in this method. Check the paper and specimen instead of relying on a schedule, and do not mount plant material while it is still damp. This guide makes no promise that pressing will preserve a flower's color or shape.
If you use a dehydrator, follow the maker's directions for the selected model and the material. Do not copy a time or setting from another appliance. A suitable existing drying method is enough; buy equipment only if it fills a real gap in your project.
For help comparing drying methods, see our guide to hanging racks and dehydrators. It can help you compare the type of equipment without changing the identification and collection steps.
Keep the identity with the specimen
Write the confirmed plant name on a note or tag and keep it with the pressed material from the start. If you are not certain of the name, leave it unidentified until you can check it; a guess does not become reliable because it is written down.
A short note about whether the plant was cultivated or collected, and when you pressed it, can help you distinguish entries later.
Use a tag and twine, a paper label, or a notebook entry, whichever keeps the specimen and its information together. If you already have suitable labels, use them. The printable label guide has a simple starting point for recording a plant name and date.
Choose the next step
| Goal | Starting point | Caution |
|---|---|---|
| Identify | Use a field guide | Do not rely on appearance alone |
| Press | Use absorbent paper and a clean weight | Change damp paper as needed |
| Collect | Confirm identity and local rules | Avoid protected plants and prohibited collection |
For more plant references, browse the herb library. Use the guide that fits the step you are on: identification comes before collecting, and the label should stay with the specimen through pressing.
Optional supplies for a pressing project
Start with absorbent paper, a clean weight, and a way to keep each name with its specimen. Optional examples cover identification, labeling, ready-dried craft material, and machine-assisted drying.
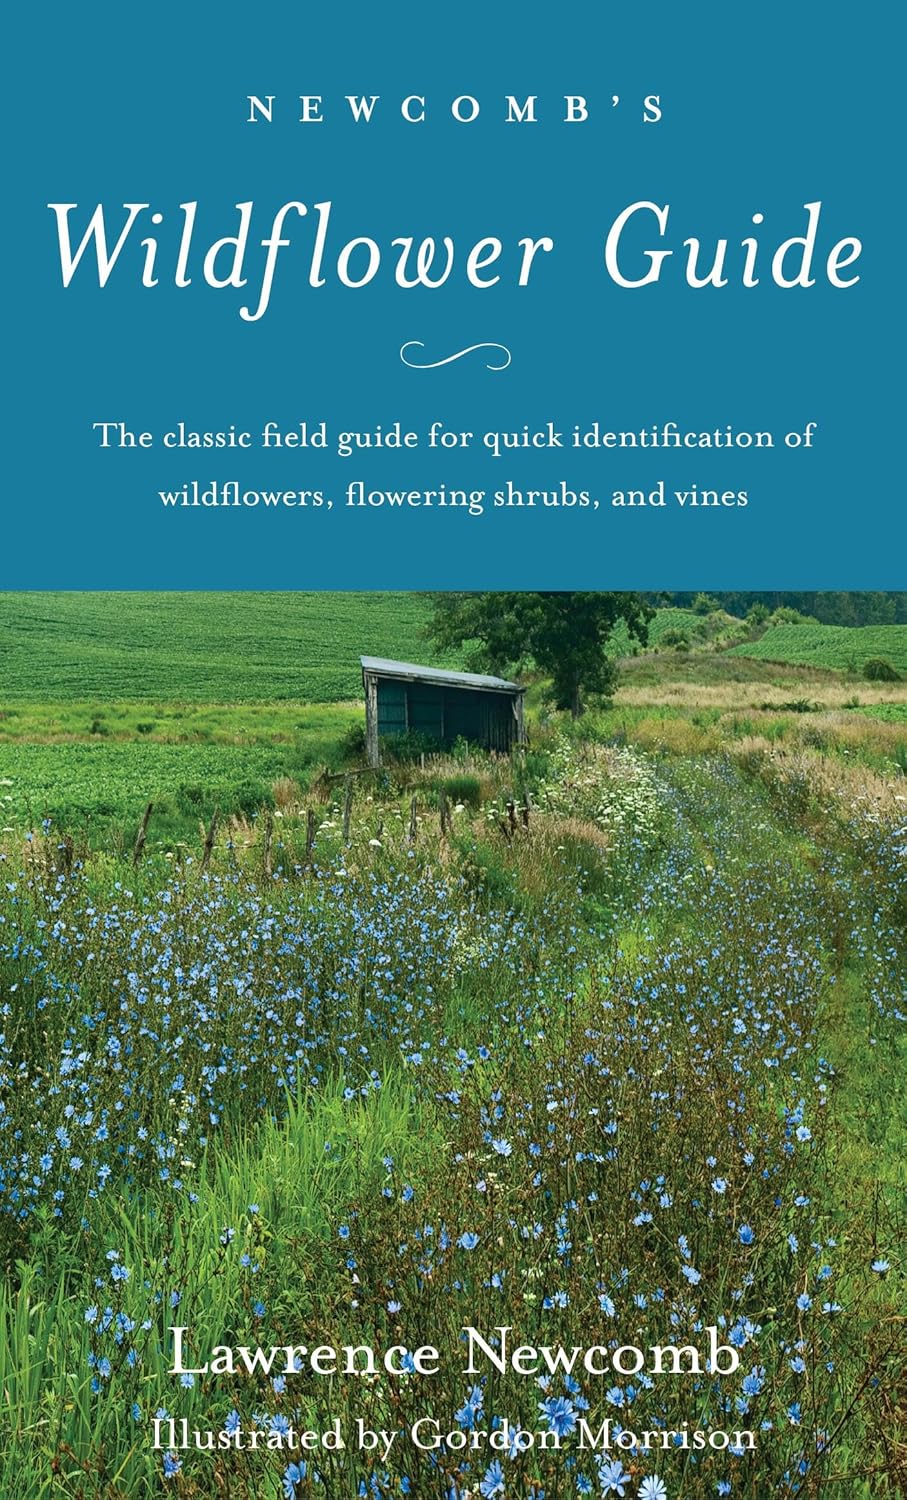
Newcomb’s Wildflower Guide
Best for: Checking identity before collection. Skip if: You know the cultivated plant.
See it on Amazon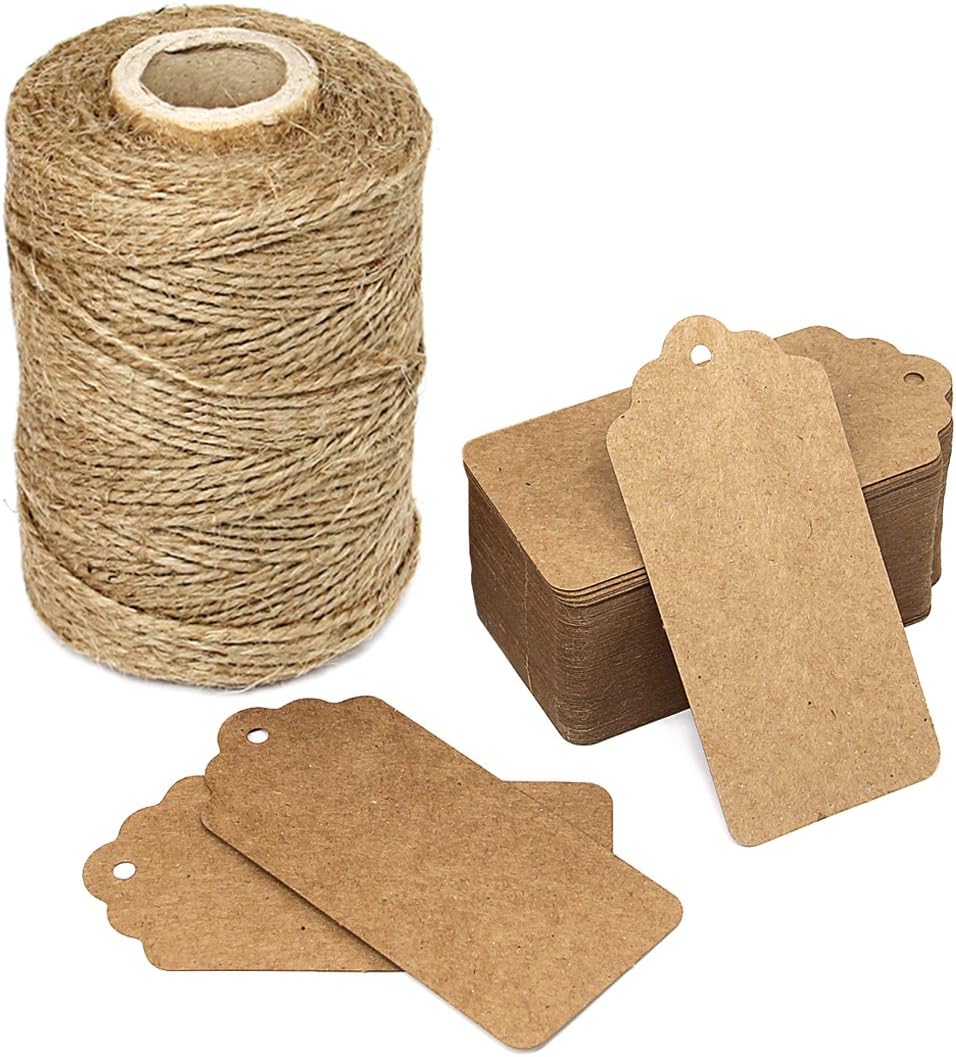
Kraft tags with jute twine
Best for: Labeling a pressed specimen. Skip if: You have suitable labels.
See it on Amazon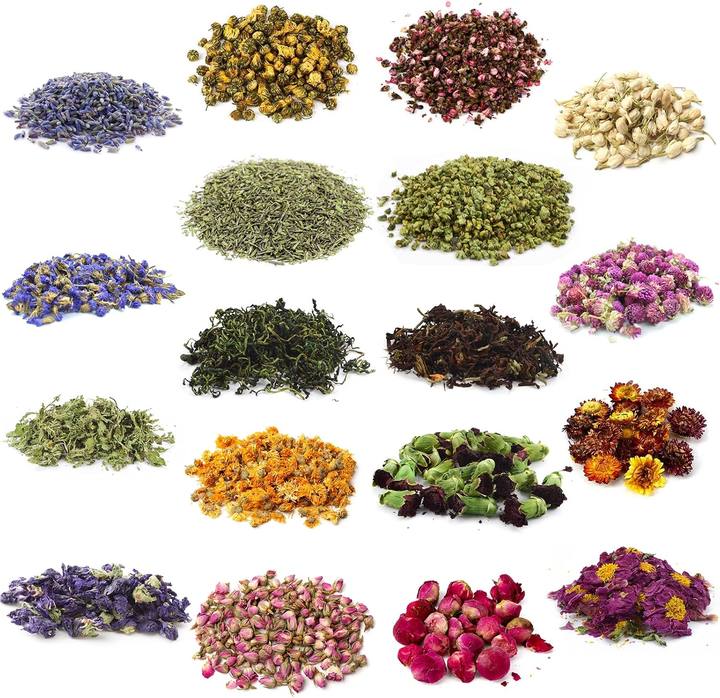
Mlife dried flower kit, 180 g
Best for: A craft that needs dried flowers. Skip if: You want to document local plants.
See it on Amazon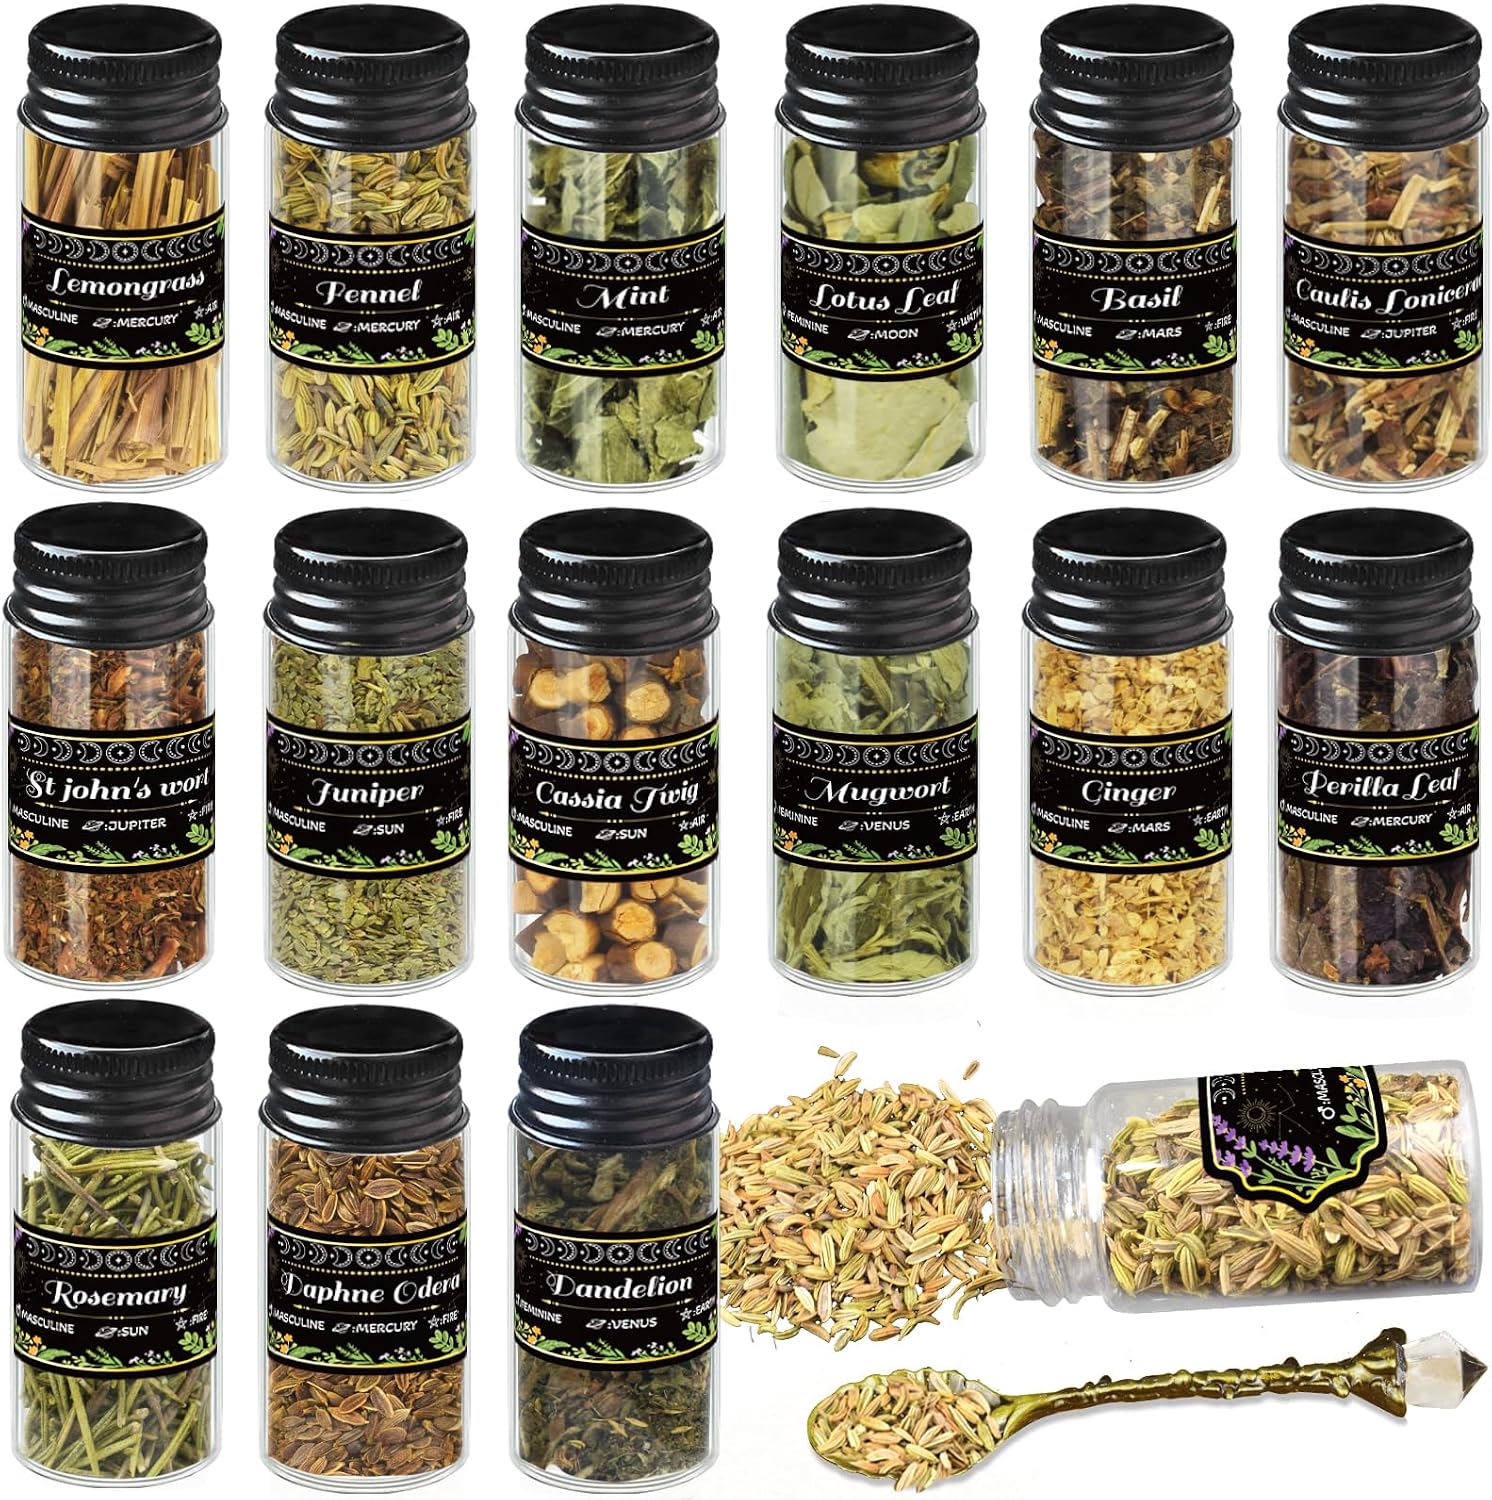
15-jar herbs candle and soap kit
Best for: Having several dry craft options. Skip if: You need only one plant.
See it on Amazon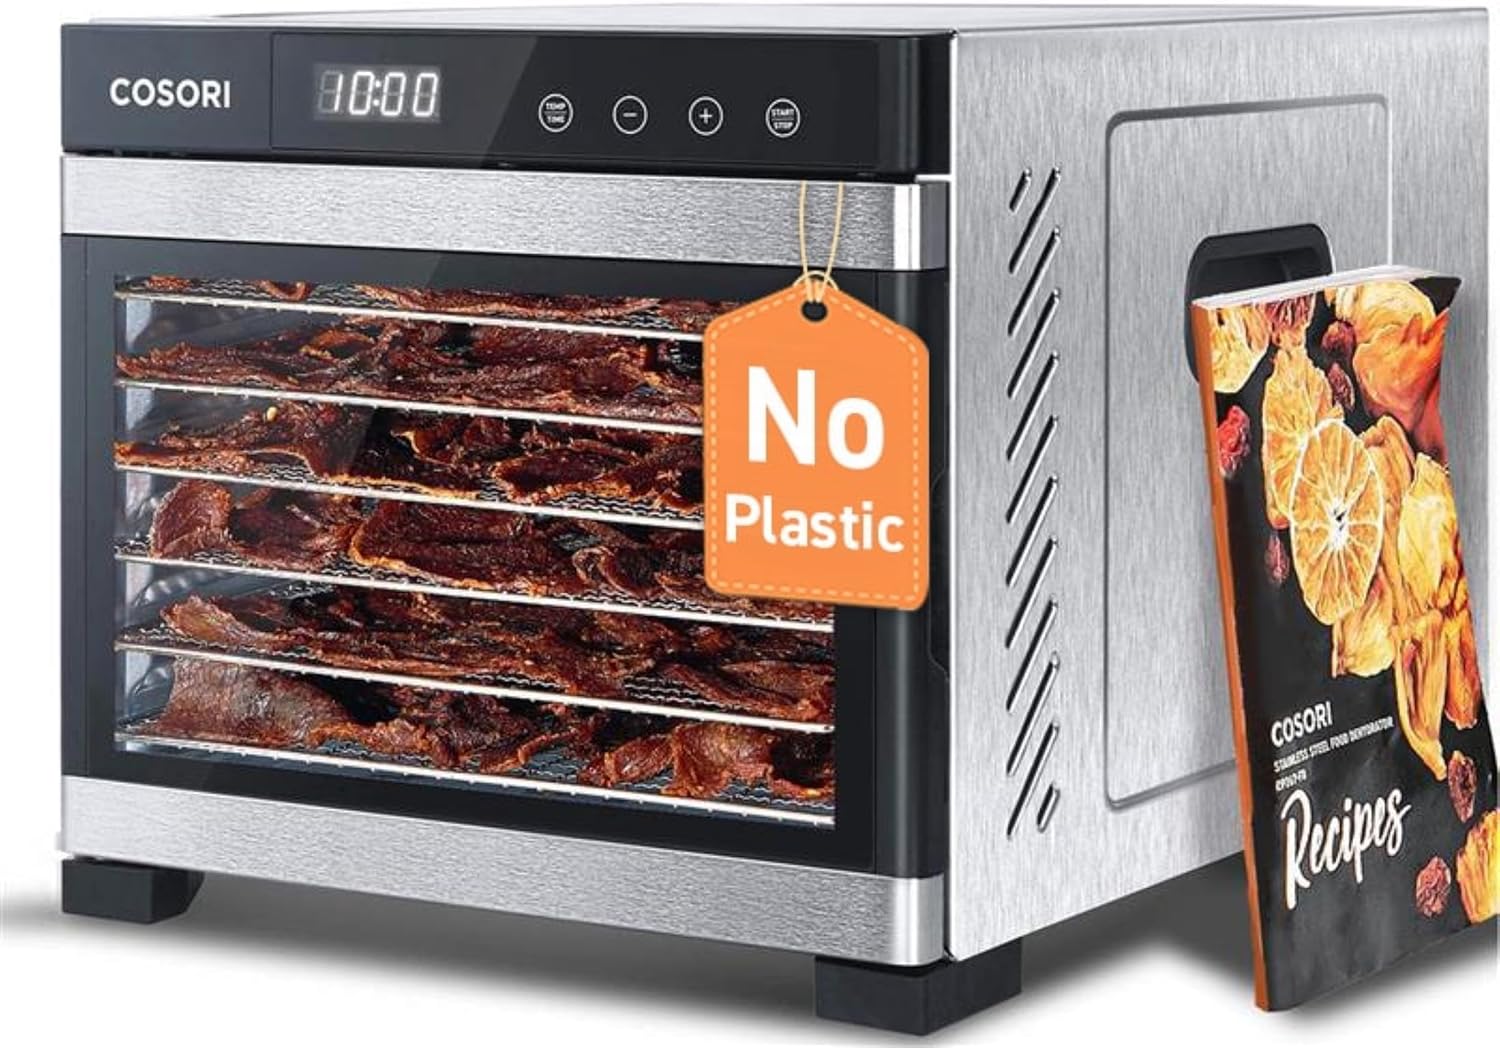
COSORI food dehydrator
Best for: Drying material by the maker's directions. Skip if: You have another suitable method.
See it on AmazonPressing and drying limits
A field guide helps with identification, but it does not confirm that collection is allowed at a particular site. Check local rules and leave protected or uncertain plants in place.
This method sets no drying schedule and makes no promise that a specimen will keep its color or shape. Follow the directions for any dehydrator you choose.
Common questions
Should I identify a plant before pressing it?
Yes. Use a field guide or qualified source before collecting or labeling a plant.
Can I collect any wildflower for a home herbarium?
Collect only plants you can identify and are allowed to take; leave protected wildflowers in place.